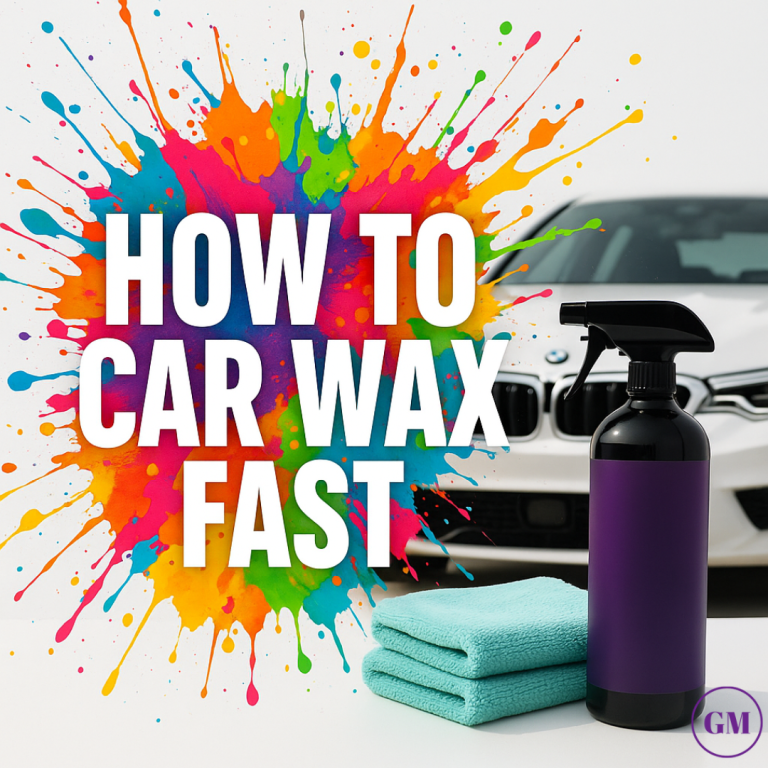
Car Enthusiasts: How To Clean Engine Bay Best Guide 2024
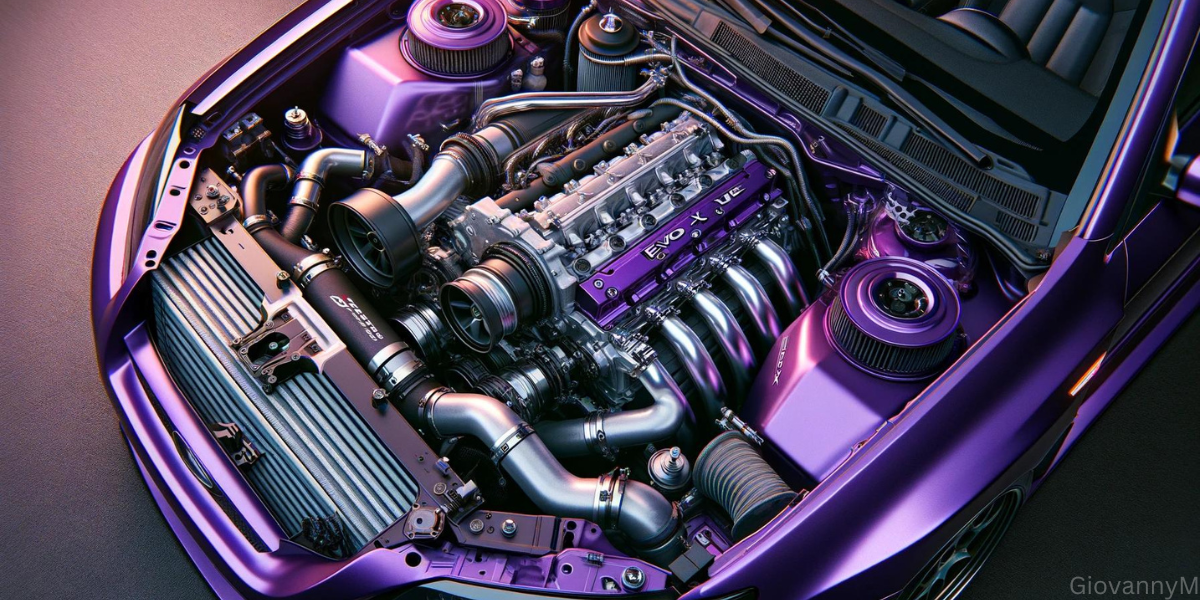
Keeping your car’s engine bay clean isn’t just a matter of pride for car enthusiasts—it’s a crucial aspect of car care that ensures your ride runs smoothly and looks prestine. Dirt, grease, and grime in the engine bay can hide potential issues and lead to overheating by insulating components. But how do you properly clean this intricate part of your car without causing damage? Well the answer is you learn how to clean engine bay!
Just like Doc said in Back to the Future, ‘If you’re gonna build a time machine into a car, why not do it with some style?’ Washing your car properly includes cleaning your engine bay, plus it gives your car the style and care it deserves for all the hard miles it covers.
TL;DR:
- Cleaning your car’s engine bay is key to good car care.
- It helps your ride run more smoothly and efficiently.
- Follow our guide to clean properly without damage.
- Let’s dive into the world of engine bay cleaning with style!
Learning How To Clean Engine Bay
Cleaning your engine bay might seem like a task for the pros, but with the right guidance, anyone can do it. In this article, all the steps to clean your engine bay safely will be provided. Learn how to clean your engine bay like a real car show enthusiast follow the steps below and you can do the same.
Gather Cleaning Supplies
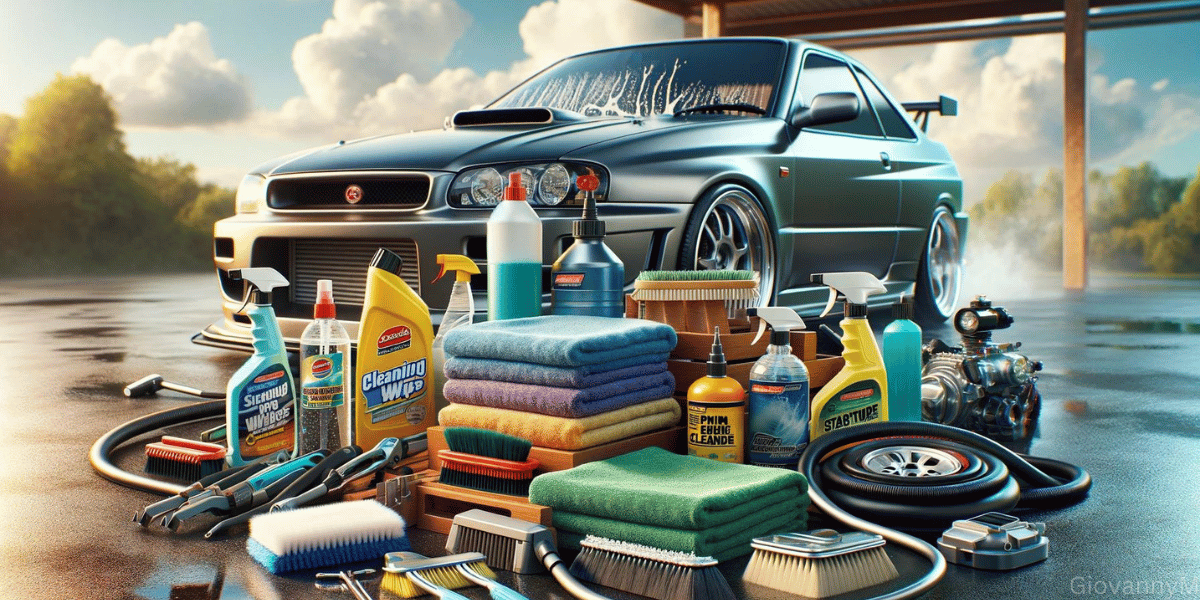
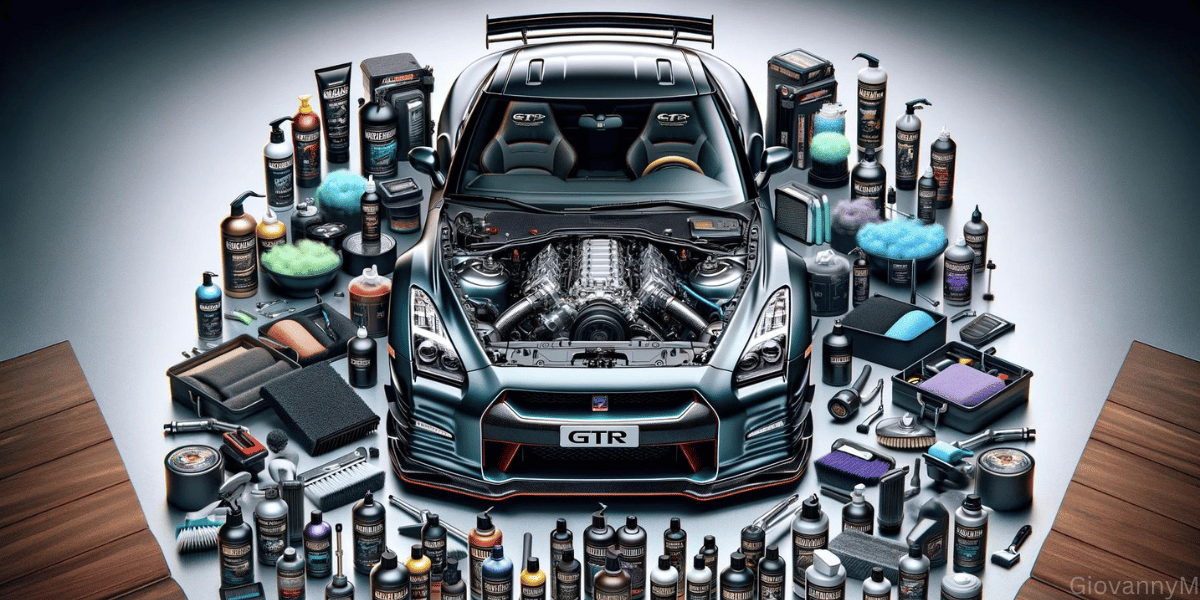
The best thing to do is always start with having the tools on hand before even getting started on cleaning the engine bay, and always having the best products or tools for the job. Down below we will show what tools are a Must Have Car cleaning products to get the job done correctly.
Microfiber Towels
OUR FAVORITE

Adams Polishes Edgeless Microfiber Towel
MOST AFFORDABLE

The Rag Company Edgeless 300
Cleaning Wipes
OUR FAVORITE

ArmorAll
Heavy Duty Cleaning Wipes
MOST AFFORDABLE

TubO’Towels
Heavy Duty Cleaning Wipes
Spray Bottles
OUR FAVORITE

Plastic Spray Bottle
Brushes
OUR FAVORITE
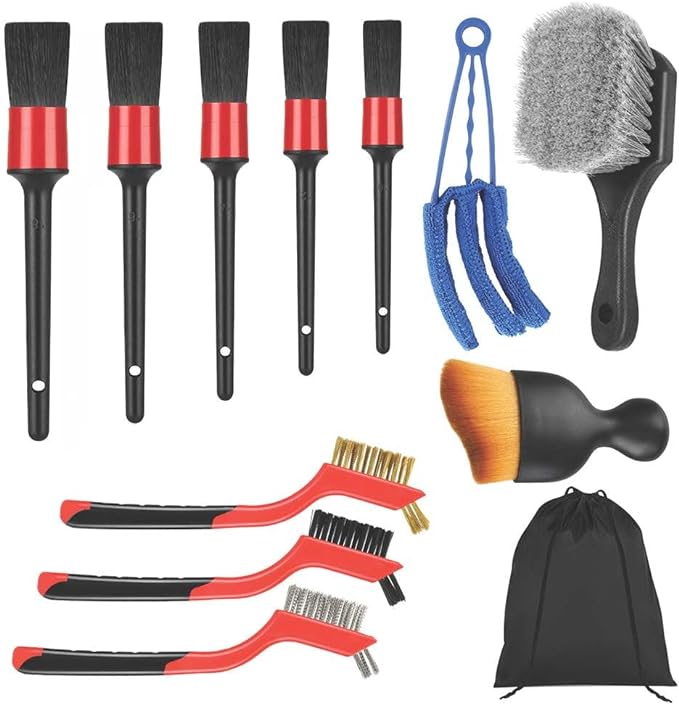
Car Detailing Brush Set
Garden Hose/ Pressure Washer
OUR FAVORITE
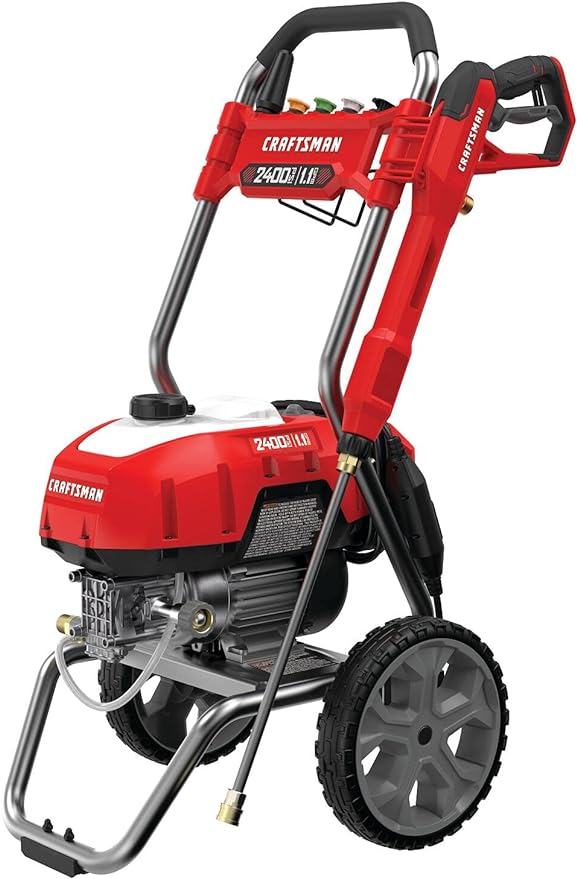
Craftsman Pressure Washer
MOST AFFORDABLE
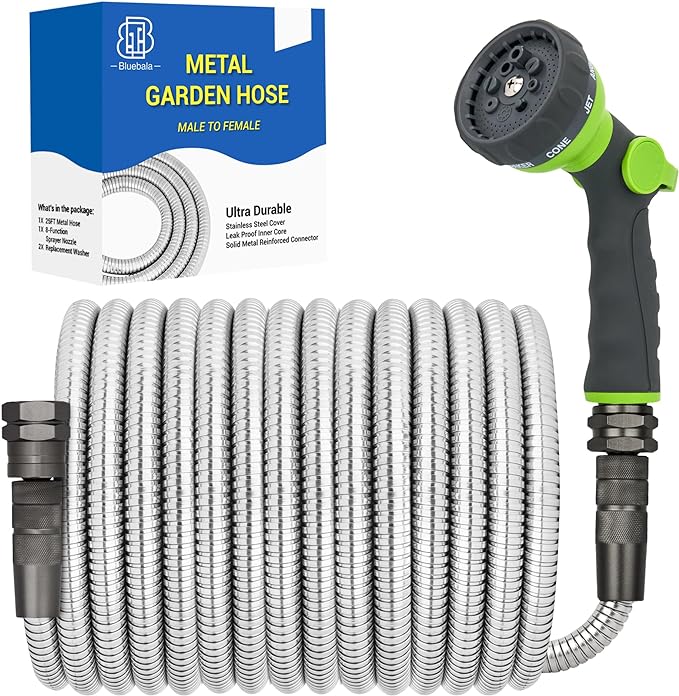
Metal Garden Hose
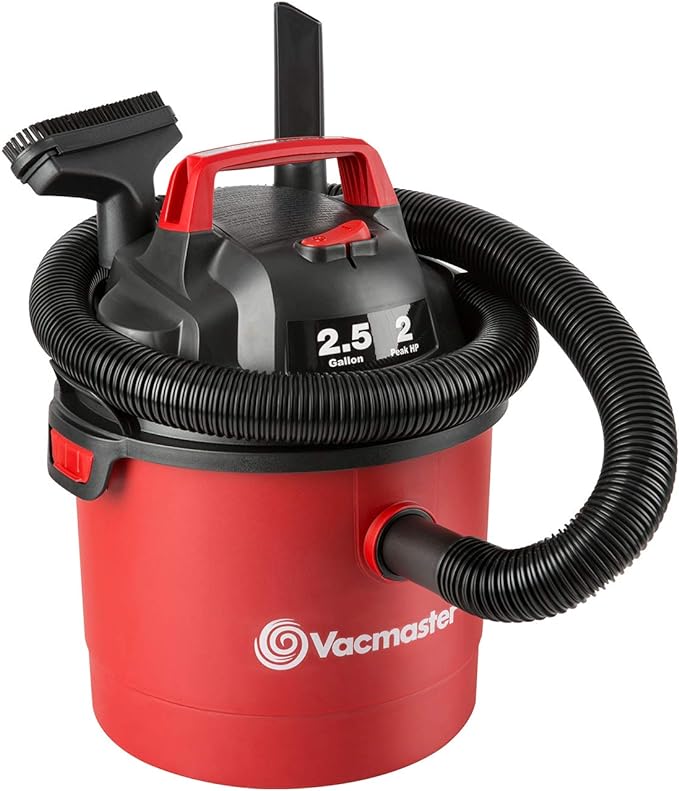
Vacuum/ Air Compressor
AFFORDABLE VACUUM
Craftsman Pressure Washer
AFFORDABLE AIR
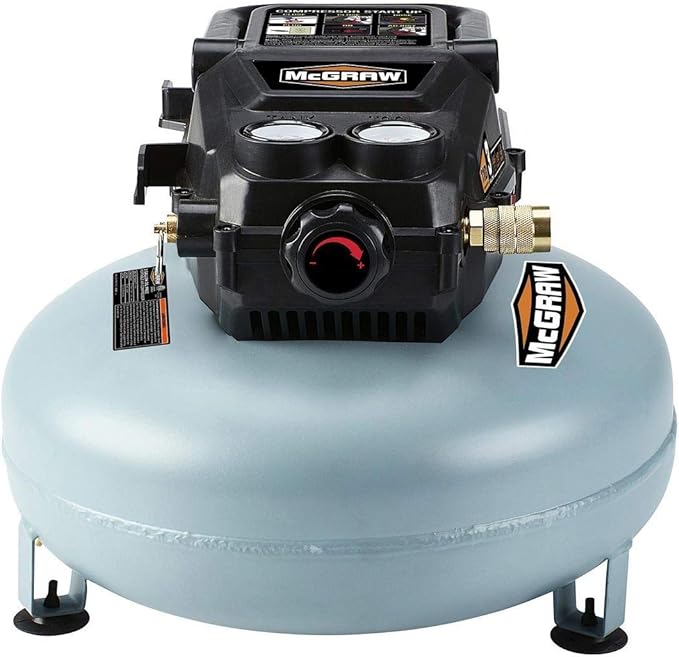
McGraw
Air Compressor
Engine Cleaner
OUR FAVORITE

Adams Polishes
All Purpose
Spray Wax
OUR FAVORITE
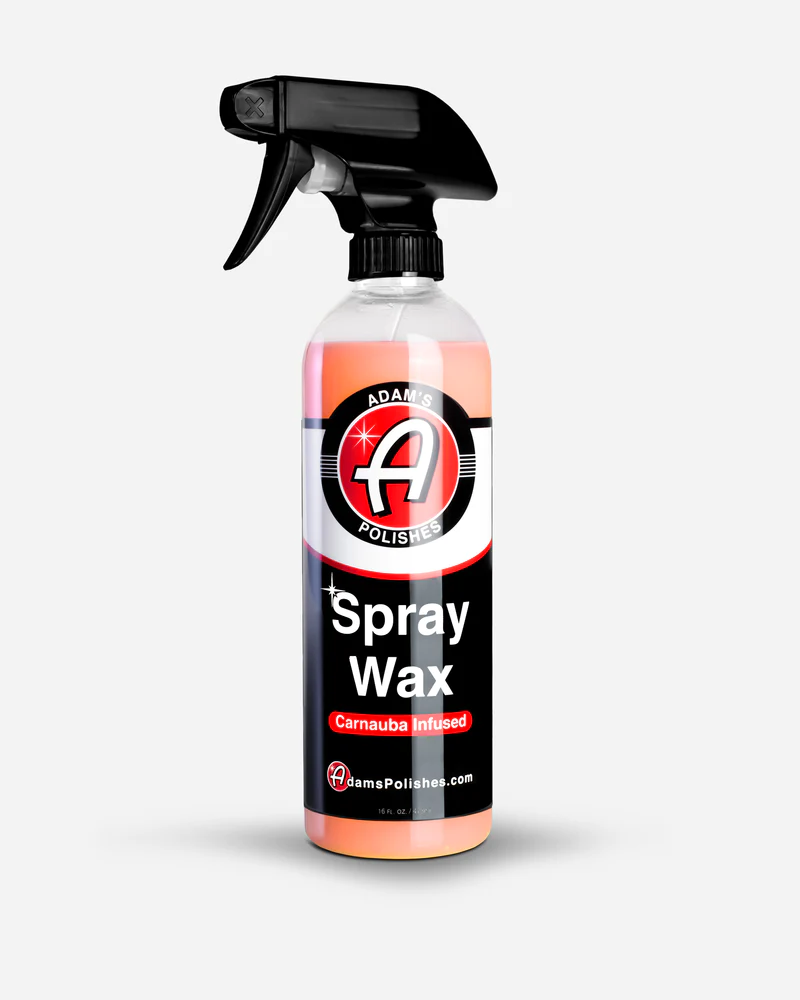
Adams Polishes
Spray Wax
Water-based trim restore
OUR FAVORITE

Chemical Guys
Natural Shine
Prepare The Engine Bay

Remove the battery to isolate the power source and to be able to clean the battery compartment and hard to reach areas. Also, disconnecting the battery is for peace of mind that you won’t accidentally get water in places that shouldn’t get water in them and short an electrical component out.
My battery is in the trunk with a kill switch in the engine bay, so for me, I would shut the kill switch off instead of having to disconnect it.
There are still some sensitive electrical components that you do not want to get wet, for example we have the alternator, which can get wet but you do not want to get it soaking wet. Other water-sensitive areas in the engine compartment are, if you follow one end of the spark plug wires to the electrical distributor, you want to push down on the caps to make sure they are all the way down.
For an engine where the spark plugs sit on the top of your engine, you want to be a little careful because water can collect in the spark plug wells.
Always make sure the caps in you engine bay are closed, for example: engine oil cap, power steering, oil dipstick pushed all the way down.
Dry Clean Your Car’s Engine Bay
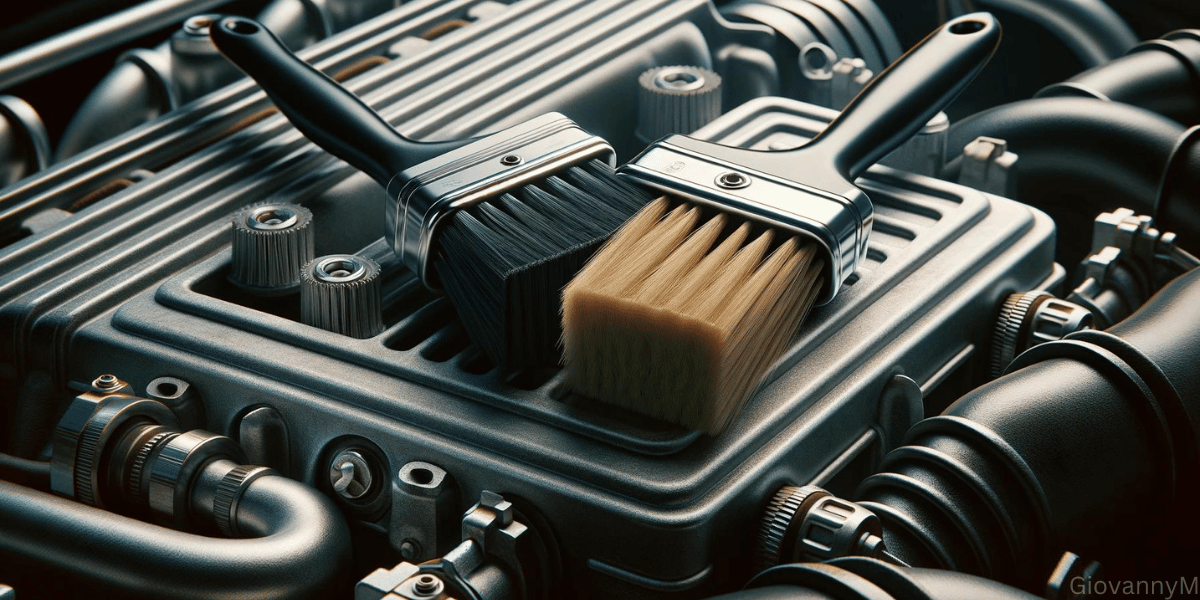
A lot of the dirt and debris that gets on the engine bay is just dust and road grime that settles on the top of everything. So before we get water on the engine bay, and get it completely soaking wet and then that water pushes the dirt into places we cant easily reach, we are going to clean it. To dry clean your car’s engine bay we are going to need and use some brushes.
I like to use brushes with long handles for those hard to reach areas but i also use a toothbrush on some areas, and some metal wire brushes. We are going to use these brushes to agitate that surface dust, but how do we remove that dust?
Personally, using a vacuum is the best option, and if you don’t have a vacuum you could also use compressed air or even a leaf blower to blow away all that dirt.
Step 1: Brush
So now you want to brush as many surfaces on the hood and engine bay, then vacuum as much dust and dirt simultaneously.
Step 2: Vacuum and Air
You want to blow some air in any hard-to-reach areas to remove even more dirt. The goal is to remove as much dirt as possible before you even get the engine bay wet.
Pro-Tip:
Some vacuums (like mine) have a side where you can attach the air hose to blow air out.
Step 3: Metal Brush
Now, why do we need metal brushes? Many cars have aluminum intakes or metal that may get discolored, corroded, or rusty. You want to scrub these areas with metal brushes and clean off all that discoloration and corrosion—it makes a huge difference!
As a reminder, Brushing the aluminum is only optional and recommended only for the best cleaning advice.
Wet Clean The Engine Bay
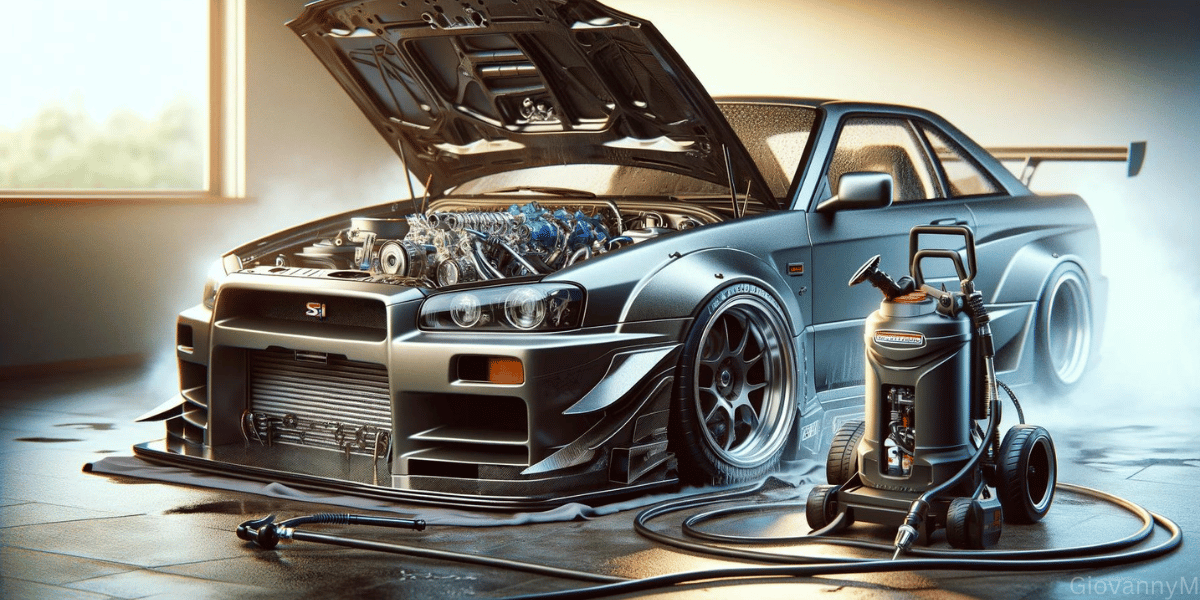
Finally, on to the step that makes everyone nervous. This is where we take a hose or pressure washer and wet down the engine bay. But don’t worry—in this article, we will read everything we need to do so that we don’t damage our engines.
Step 4: Cover The Engine
We want to get plastic bags or something that will cover the bulk of the engine and keep it from getting wet. It’s okay to get the sides of the engine bay wet, but you definitely don’t want to soak the top off the engine just to play it safe.
Step 5: The Hood And Hood Liner
So we are going to start from the top (Hood) and down (engine area). Everyone forgets about the hood, but I feel it’s an important step.
I like to spray degreaser before spraying water. First start hosing down the painted surfaces on the hood and the hood liner. If you are using a pressure washer, make sure to have it on a low setting so that you don’t send high-pressure water into places you don’t want to or tear through your liner.
After you hose down those areas, again use a degreaser or soapy water on the hood liner and painted surfaces and hose it down again. Clean those areas with cleaning wipes and microfiber towels. I like to use a cleaning wipe and microfiber towels to pick up the loose dirt, and I keep repeating the process until I complete these areas, making sure to rinse areas again for extra dirt removal.
Step 6: Sides Of The Engine Bay
Now, we begin to hose or water parts of the actual engine bay clean, the sides not covered by the plastic bags. We rinse with cool water onto the painted surfaces, rubber, and plastic pieces, and then use cleaning wipes and microfiber towels to clean the grime and dirt off, and try to avoid electrical components.
If any areas get water in them that shouldn’t be wet, I like to use compressed air to blow some of that dirt and water off, especially when using the pressure wash to rinse the vehicle. Then continue washing by using the same process to clean any debris until this section and all its components are complete.
Cleaning The Main Engine
Step 7: Removing The Cover
Remove the plastic bags carefully to avoid getting water on the parts you covered. While this section might seem overwhelming since there are a lot of hoses, wiring, and hard-to-reach areas, we will provide some tips and tricks to easily overcome this part.
Pro-Tip:
Remove any easily removable parts or components to clean outside of the vehicle. For example, an air intake in some vehicles takes up a lot of room, battery boxes, etc.
Step 8: Removing Dirt From The Engine
Once you are ready, gather a spray bottle, soapy water, microfiber towels, and some brushes ( a toothbrush is fine.)
Spray the soapy water sparingly since its a controlled spray you do not have to worry about damaging any electrical components. Use the brushes to agitate the dirt, grime or oil. Then use the towels to lift the dirt off, do not worry about getting the towels dirty because that means you are properly cleaning the engine.
Pro-Tip:
Cover a pipe cleaner or brush with a microfiber towel and use it as a handle to clean more surface area with the towel in those hard-to-reach areas, and continue this step until you finish this area.
Dry the Engine Bay
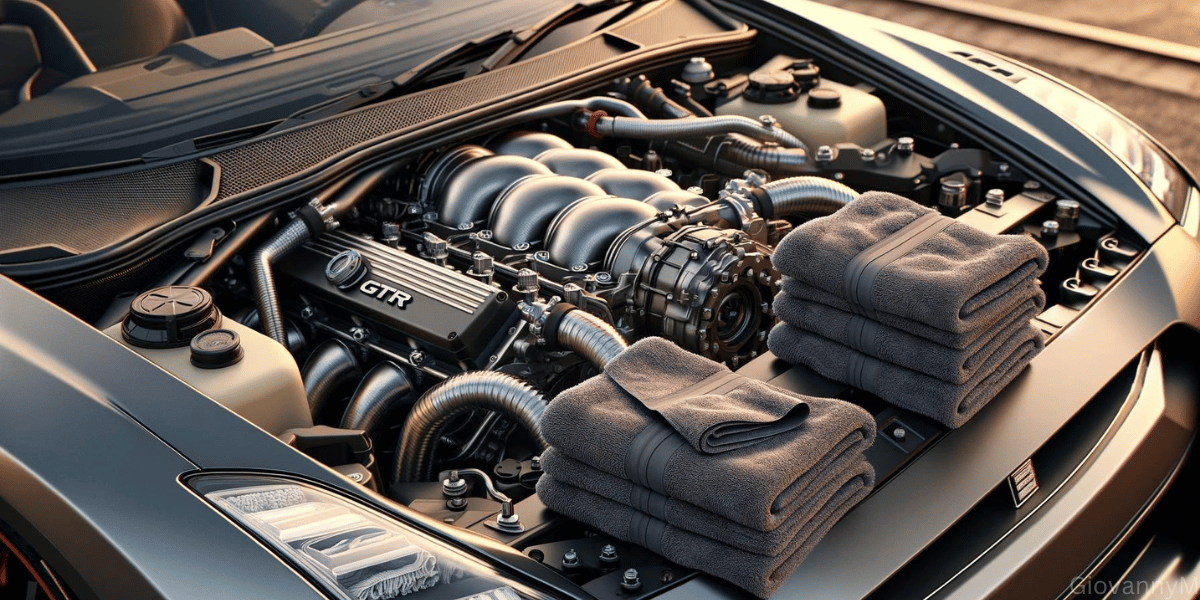
Step 9: Drying
Grab a microfiber towel and start drying everything down. Once you are drying, you will notice that the towels are picking up dirt and getting dirty. Again, that’s a good sign, that means less dirt is going to stay on the engine.
While you continue this process, you might notice areas you completely missed, do not be afraid to get some more soapy water and clean those areas over again. Continue this process until you feel satisfied that you dried all the areas you could.
Pro-Tip:
For wet spots in hard-to-reach areas, a vacuum can remove the water in certain spots, or again, use the handle of a long brush and wrap a microfiber towel around it and use that to reach some of those spots.
Detail
Step 10: Spray Wax
Grab the spray wax of your choice and a microfiber towel, then spray it on all the painted surfaces inside of the hood and engine bay. Then grab the towel and buff it in, this process will ensure to protect all the painted surfaces inside of the hood.
Pro-Tip
If you have a hood liner be sure to remove and wax the painted areas behind it.
Step 11: Rubber And Plastic Surfaces
For the rubber and plastic portions of the engine bay, pour that water based trim restore on a plastic piece of your engine or somewhere easily accessible, grab a clean brush and dip it into the trim restore product.
Then brush all the areas you want covered; once done, wait 5-10 minutes before the next step.
Step 12: Buff The Trim Restore Product
With the microfiber towel, buff or rub in the trim restore product into the sections you applied it to.
Step 13: Reinstall Removed Parts

The final step to complete your engine bay cleaning process and to add products to protect the interior of your hood, is installing any parts that you had removed and cleaned off of the engine bay.
Final Thoughts
Wrapping up this engine bay cleaning guide, you’ve now got the know-how to keep the heart of your ride in top-notch condition. But why stop there? Extend that sparkle to every corner of your car, especially those wheels. Don’t let brake dust ruin the look of your rims. Also learn how to clean leather seats or cloth seats. Remember, a car enthusiast knows that true car care goes beyond the surface. So, grab your gear, and let’s make sure your ride turns heads, from the engine bay to the rubber meeting the road. Check this article out if you are looking for The Best Car Accessories.