How To Remove Car Window Tint The Best Way
I remember driving my 96′ Honda Civic and directly staring at the rear window only to see old window tint peeling and bubbling. Well, whether it’s for aesthetic looks or to remove a tint that’s seen better days, removing car window tint is within your reach.
Window tinting can degrade over time, leading to unsightly bubbling, fading, or peeling. This hurts your car’s appearance and can lower visibility, impacting both style and safety.
The life expectancy of window tint lasts on average 5 years and chances are you will come to a point where you are debating removing window tint yourself or hiring a professional.
The thought of removing window tint can be intimidating. Many car owners worry about damaging their car windows or ending up with a sticky residue, turning a simple upgrade into a frustrating situation.
This guide is designed to help you safely and effectively remove your car’s window tint. We’ll provide a clear, step-by-step process, including the necessary tools and techniques, for a smooth and successful removal.
TL;DR:
- Old or unattractive tints can spoil your car’s look and safety.
- The risk of damage or mess can make tint removal daunting.
- Our easy-to-follow guide ensures hassle-free tint removal, perfect for an upgrade or style change.
Why You Want To Remove Your Car Window Tint
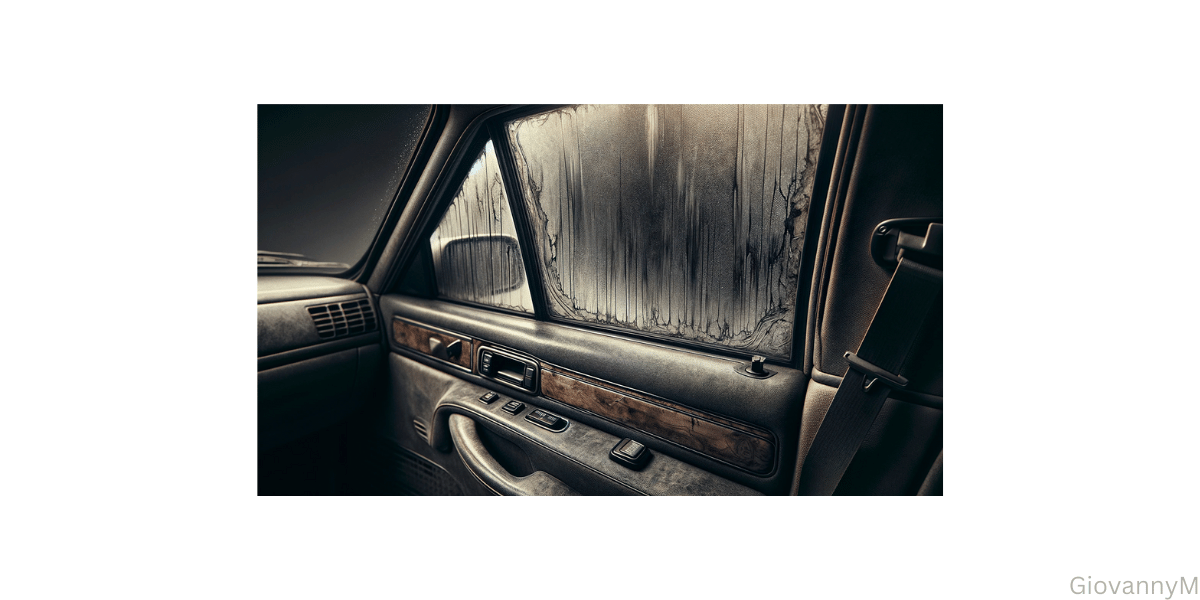
Removing window tint is often necessary when you notice your old tint slowly peel and lose its effectiveness. Over time, the tint can degrade, ruining the look of your vehicle and obstructing your view. Especially when you have spent so much time taking care and washing your car, just for it to be ruined with bad window tinting.
Understanding why and when to remove the tint is crucial, whether for looks or safety concerns.
The Steps On How To Remove Car Window Tint
While DIY methods for removing window tint are popular, approaching the task with a professional mindset can help with the results significantly. Following the steps outlined in the upcoming sections, you can achieve professional window tint removal quality right in your garage.
These steps are designed to guide you through the process with the same attention to detail and care that a professional would use, making sure a clean, damage-free outcome. Keep reading as we dive into how you can master the art of removing window tint by yourself, and after this is all said and done, try detailing your windows clean with the right tools.
Step 1 – Gathering The Right Tools
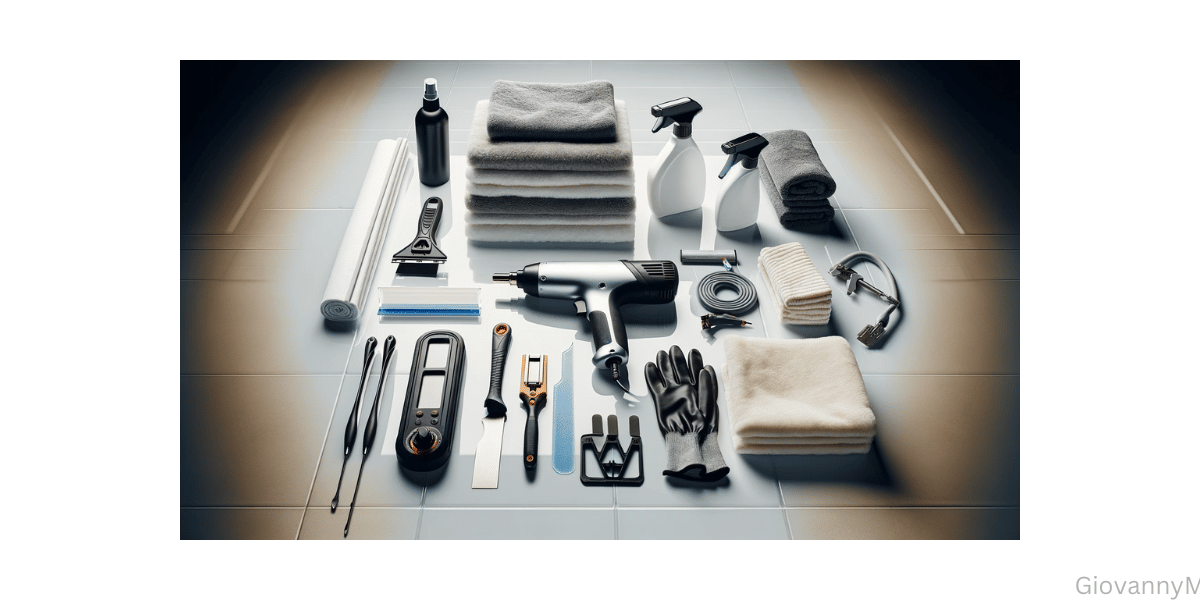
Whether you’re a seasoned DIY enthusiast or a first-timer tackling window tint removal, having the right tools is essential for a successful project.
Each tool used can make a hard job into a smooth, easy process, using heat guns and razor blades to plastic putty knives and ammonia solutions can make this job way easier.
Having a collection of all the must-have car cleaning products is so easy when you know what you are looking for.
Gather your tools before removing the window tint so you don’t run back and forth collecting them, leaving the project waiting for you. As a car guy, I know firsthand what a pain it is to keep getting up and down for tools.
1. Steamer Or Heat Gun:
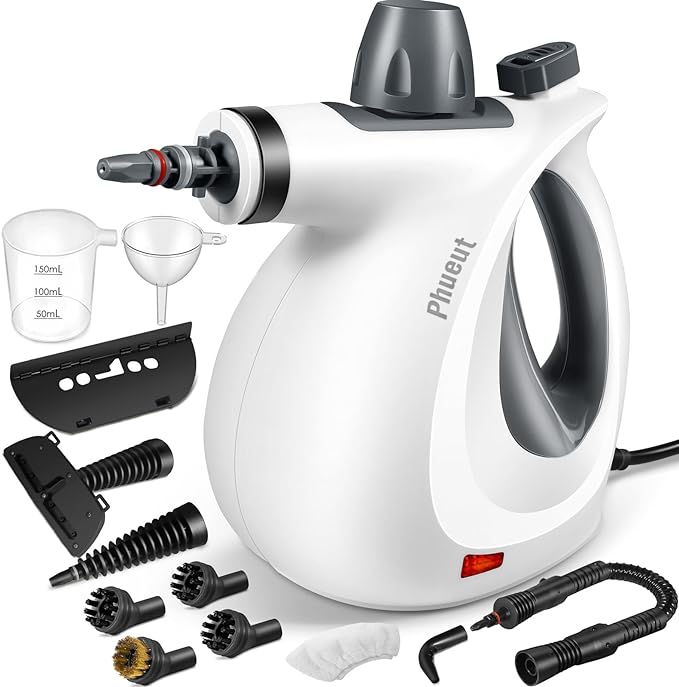
Phueut Steam Cleaner
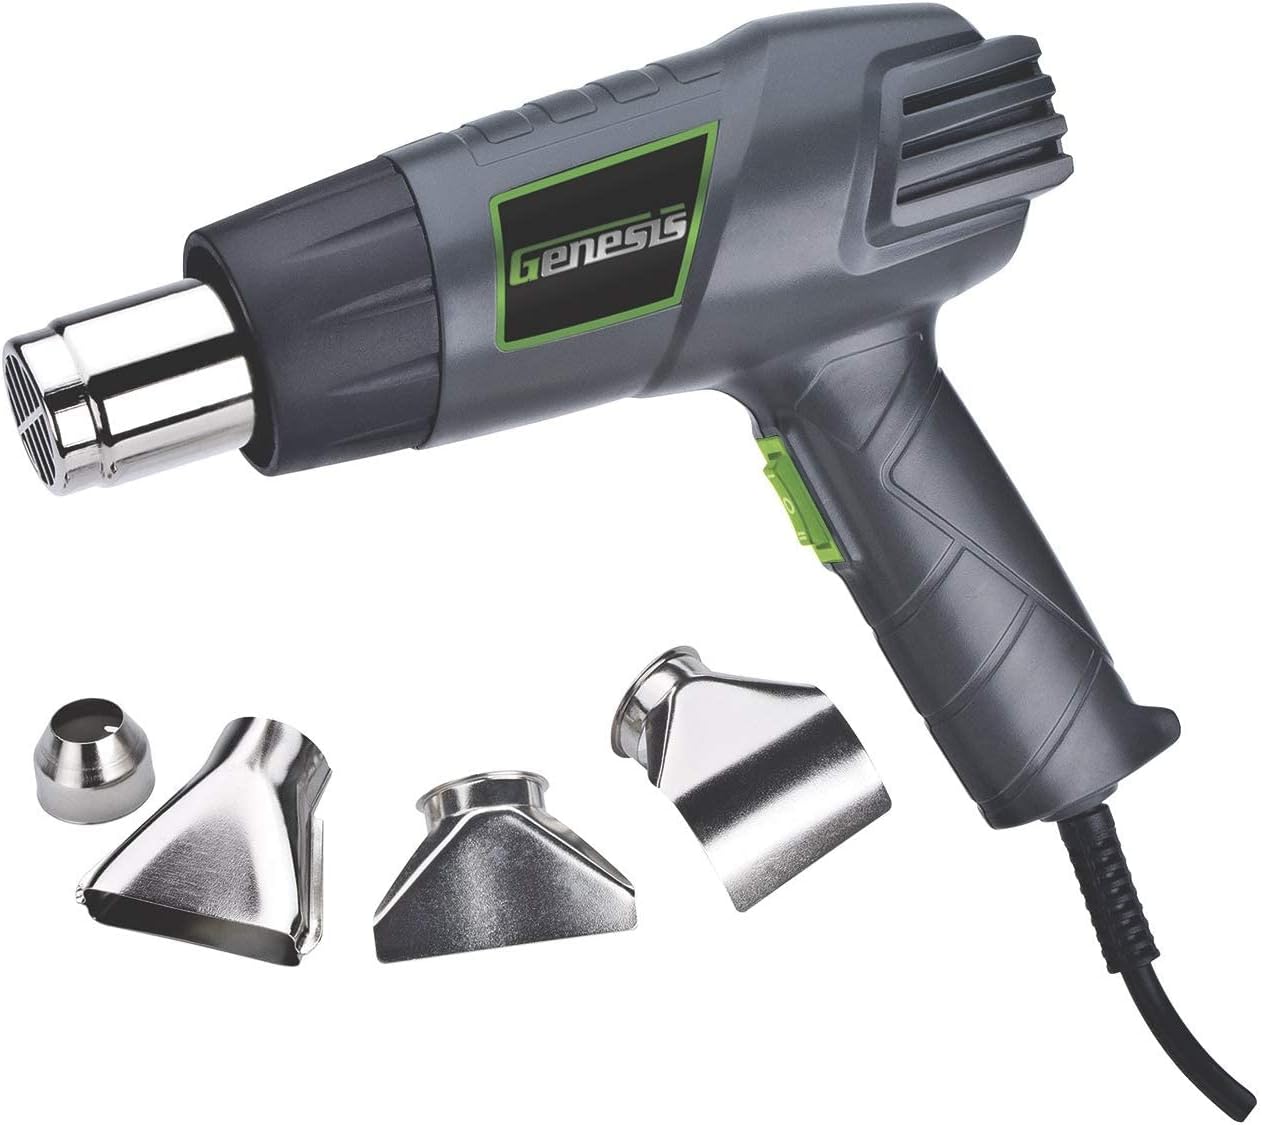
Genesis GHG1500A Heat Gun
Usage: Applying heat on tinted windows softens the adhesive for easier tint film removal.
2. Razor Blades or Scrapers:

Plastic Razor Blades
Usage: Used to peel off the tint after the adhesive is softened.
3. Plastic Drop Cloths:
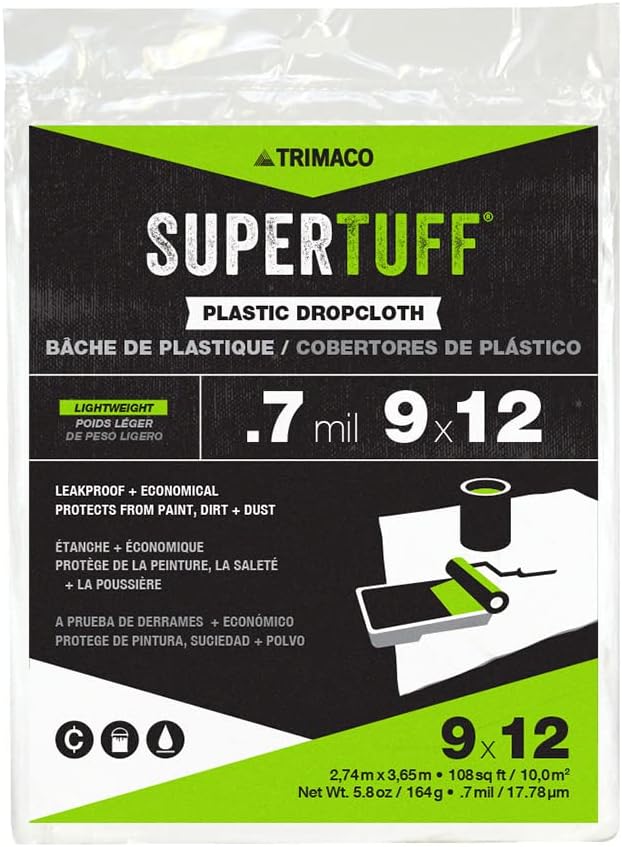
SuperTuff Plastic Drop Cloth
Usage: Protects the car’s interior from water or steam damage.
4. Squeegees:

SetSail Shower Squeegee
Usage: Helps clean the window and remove water or adhesive remover.
5. Microfiber Towels:

Detailing Microfiber Towel
Usage: For cleaning and drying the windows after removal.
6. Glass Cleaners:
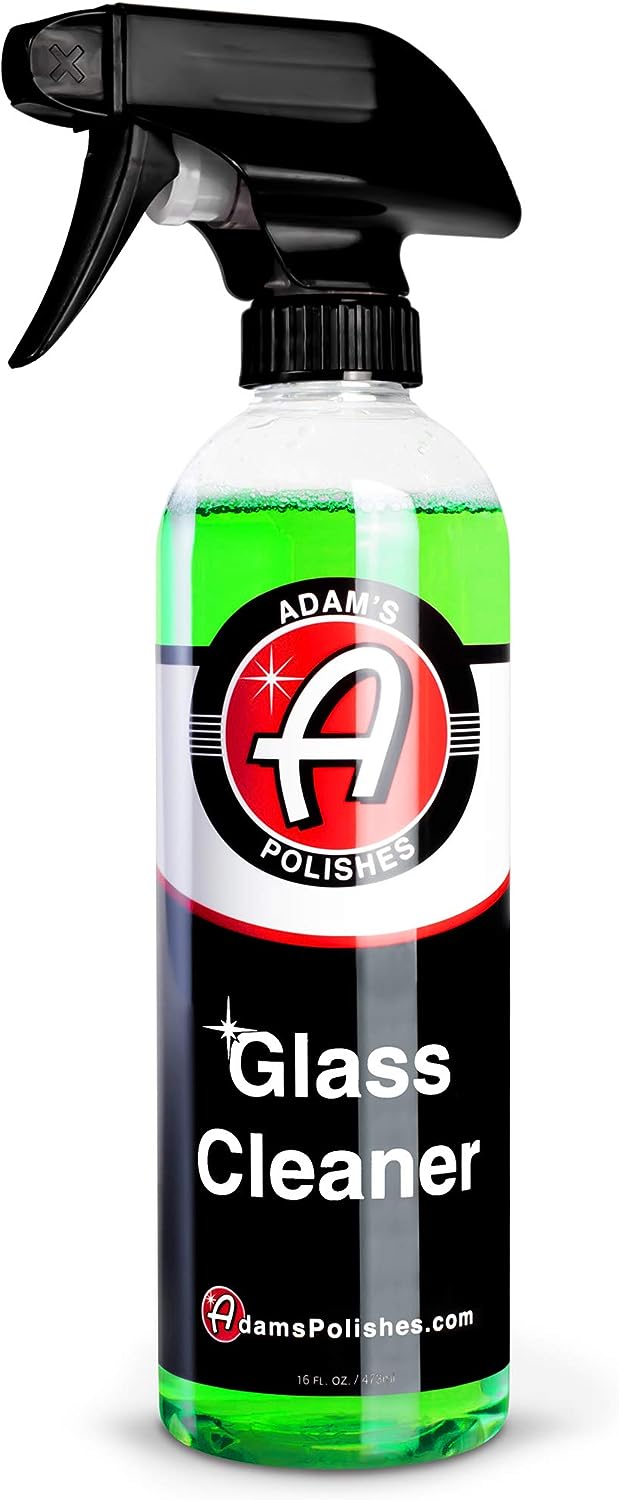
Adams Polish Glass Cleaner
- Usage: Cleans the window after the tint and adhesive are removed.
7. Adhesive Removers:
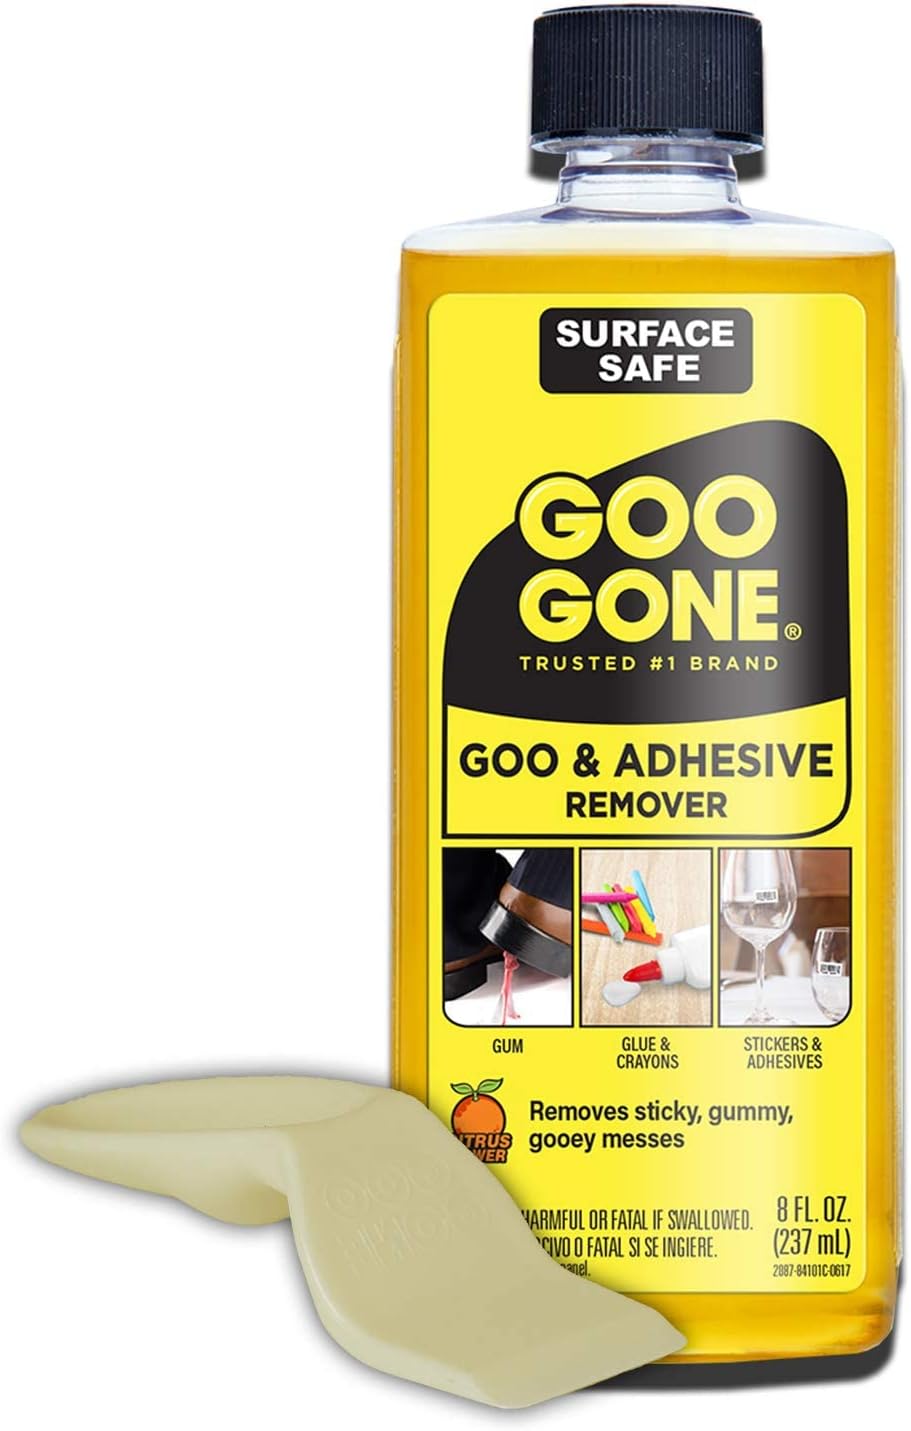
Goo Gone Adhesive Remover
- Usage: Helps in removing residual adhesive after the tint film is removed.
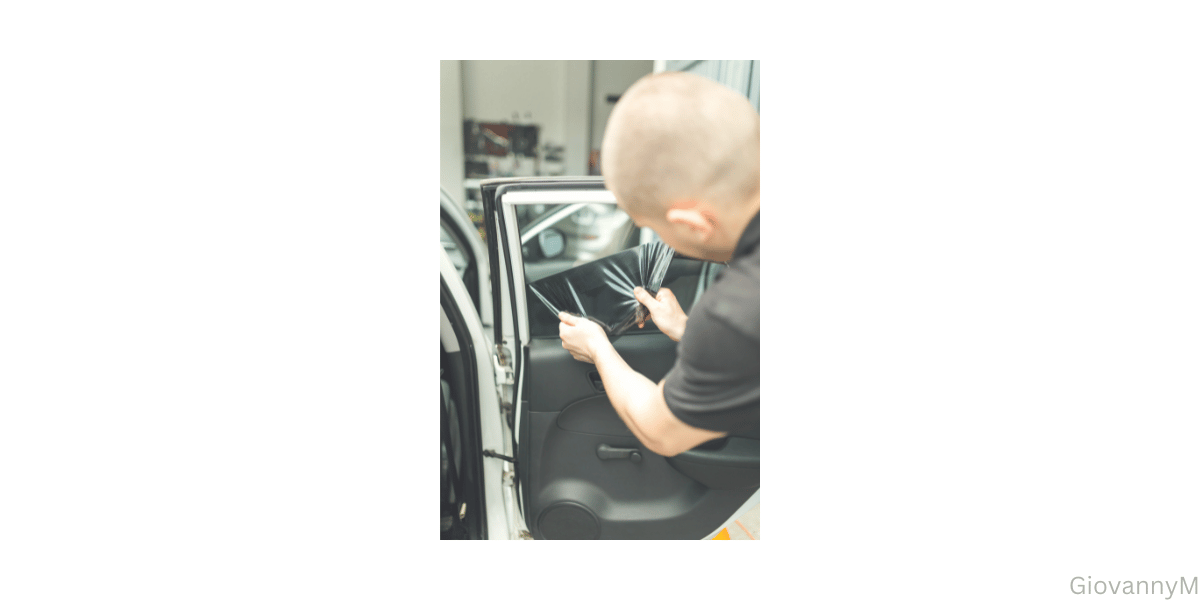
Step 2 – Finding The Edges
Locating the edges of the tint film is a straightforward job and may be an easy job, but is a must before the removal process can start.
For tint on the driver or side windows that can roll down, slightly lowering the glass creates access to pry up the top edge of the window film. On rear windows or ones without a roll-down function, you’ll need to find at least one corner or a raised lip of the window tint film to get underneath and be able to pull it off when the time comes.
Run a plastic scraper or slim putty knife carefully along the entire window borders to lift these corners and sides, freeing or lifting the tint so it is ready for smooth peeling.
Step 3 – Heating The Tint

When you apply heat before removing the window tint, to the adhesive holding it down, the heat loosens it up. Using a heat gun, blow dryer/ hair dryer, or steamer to apply steam or heat will soften the glue.
Run your heat source slowly over the film while avoiding letting it sit too long in one spot. Heating before you start lifting and peeling may not seem necessary but could save you time and effort which is our goal.
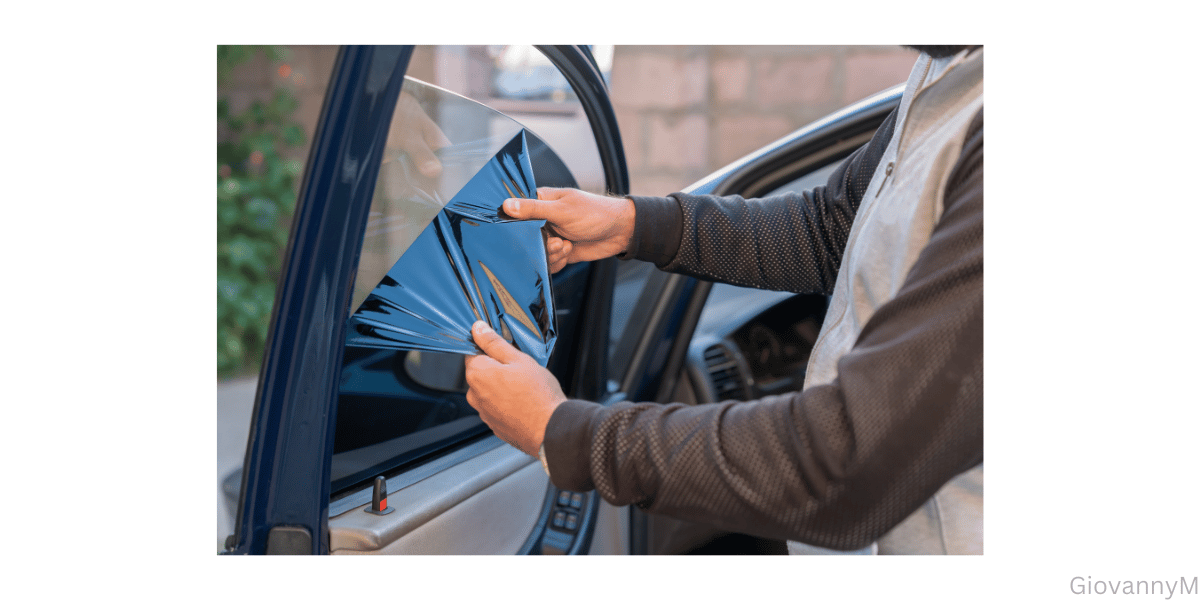
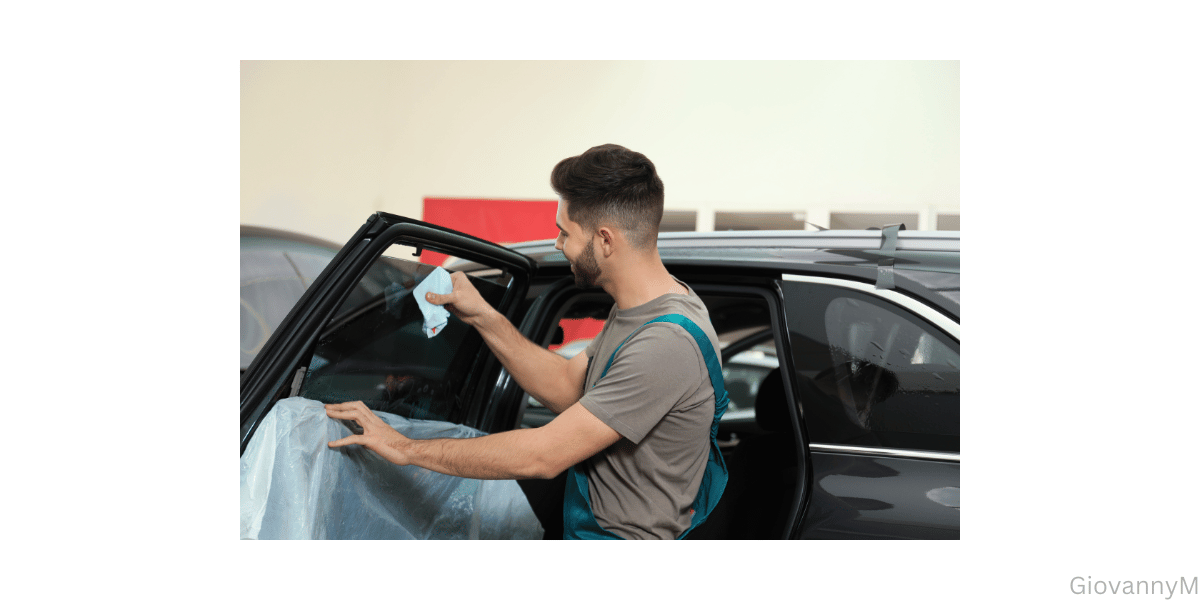
Step 4 – Begin Slowly Peeling Edges
Once you’ve heated the tinted window, you can begin using a plastic razor blade to peel the tint slowly.
Applying a soapy solution like dish soap mixed with water aids the razor blade in gliding instead of dragging. Roll the tint as you scrape while continually reapplying the soapy water with a spray bottle to lift or remove window tint edges.
As a car enthusiast I helped car friends remove window tint, just a word of advise, a little bit of technique goes a long way especially using the right tools.
Pro-Tip – Tape garbage bags to the bottom of windows to prevent water from entering inside of the window.
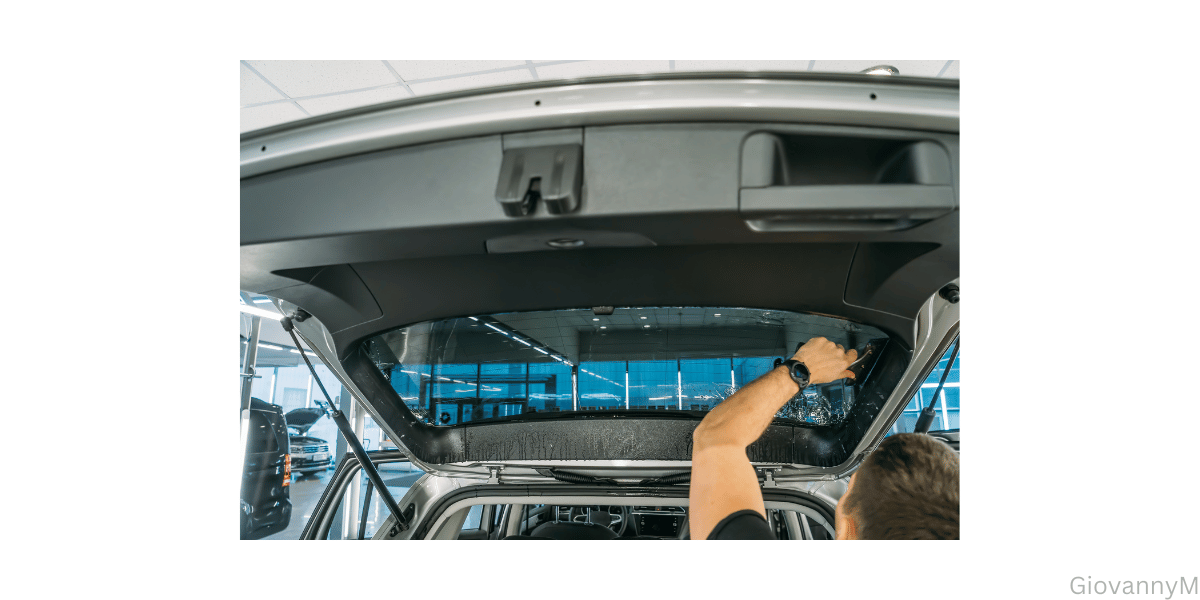
Step 5 – Slowly Pull The Window Tint Off
After the edges have been lifted, avoid yanking to remove it all at once. Gently pull, maintaining constant tension. Keep rewetting the underside and top of the tint with lubricant spray or soapy water as you peel.
Once you remove the window tinting to about halfway, roll the window up so the removal of the lower portion of the window is a bit easier, and continue peeling.
This process allows you to remove window tint without shredding it into a puzzle of frustrating little pieces stuck to the glass.
Now that your car has nothing to block the sun make sure to protect your interior with some must-have sun reflectors, especially in areas where the heat is unbearable.
Step 6 – Removing Glue Residue

Once the old window tint is removed, on to tackling the remaining glue on your car’s windows. The residue can differ, but any amount of glue left over is annoying.
The best method is to use a commercial window adhesive remover. These products are designed to dissolve the glue effectively without damaging the glass. When used with a scraper, they make the removal process much smoother and more efficient.
If you are looking for homemade products, using acetone, nail polish remover, vinegar, or isopropyl alcohol can be effective for those who prefer a more homemade approach, though they may require more effort.
Defroster lines
When working around defroster lines, the approach to removing tint can vary depending on the specific situation.
Make an effort to be extra cautious around these areas to avoid damaging the lines. Applying steam is often the safest and most effective method in these cases. This method is particularly effective because it minimizes the need for scrapers or a razor blade, which can easily cause harm to defroster lines.
The gentle heat from the steam loosens the adhesive, allowing the tint to be removed more easily and safely, especially around the sensitive areas of the defroster lines.
This technique ensures that the tint and the defroster lines remain intact throughout the removal process.
Clean Up
Finally after all that hard work you have put into removing the window tinting, clean up any messes or water spots left on the vehicle that you may have missed. I tend to usually wash my car, clean the brake dust off of my wheels, and reinspect my windows just to make sure everything is looking clean to my standards. Shoot I like to even clean the engine bay, make it showroom ready. One thing to look for is make sure to look at your seats, you may have stained them or wet them, and if you did, make sure to clean the car seats before they become unmanageable.
Final Thoughts
Removing car window tint can be a simple process that can be done at home with a few basic tools and supplies. By following these steps carefully, you can remove the tint from your car windows without damaging the glass. If you are uncomfortable removing the tint, you can always take your car for professional help at a window tinting shop. Check out this article if you are looking to install car window tint in the near future and make sure to look at all the different window tint percentages to make the best choice on what shade of window tinting you want. Once you are all done with window tinting check out the rest of the Best Car Accessories You Didn’t Know You Needed.