How To Wax A Car Like A Pro ( Best 2025 Article)
Learning how to wax a car might seem easy, but it’s more than just rubbing on some wax and calling it a day. Many car lovers forget the real perks of a good wax. It doesn’t just make your car shine but also protects the paint from scratches and weather. If your car used to stand out but now looks a bit dull, it’s time to bring back that fresh look!
When your car’s exterior gets dull, scratched, and faded, it doesn’t just look bad it can lower its value too. Without a good care routine, small scratches can get worse over time. Dirt also builds up and can be tough to remove with just a wash. Waxing regularly helps protect the paint, hides small scratches, and keeps your car looking fresh, like the day you bought it.
My car’s paint is purple, and nothing feels better than turning heads as I drive down the street! That’s why I make sure to keep the paint looking its best.
Remember the line from The Karate Kid, “Wax on, wax off”? Just like Daniel LaRusso’s moves, a good waxing routine will not only make your car look great, but it will also keep it protected from daily wear and tear.
Products You May Like


What Is Car Wax
Car Culture and car detailers take pride in the way your car looks and feels, and waxing is a big part of that. What Is Car Wax? it is a protective coating you apply to the outside of your vehicle to keep paint safe and gives a polished shine. By waxing, you’re adding a layer that protects the surface from dirt, UV rays, and small scratches.
Most car waxes are made from carnauba wax, which comes from Brazilian palm leaves, mixed with synthetic ingredients to make them last longer and shine brighter. These ingredients are heated and blended into a solid or liquid form that sticks to your car’s surface. This layer works like a shield, keeping your car clean and making it sparkle.
Reasons To Wax The Car

Waxing your car’s exterior is key to keeping the paint looking great and lasting longer. Here are a few reasons why regular waxing matters:
Protects the Paint: Wax adds a protective layer to your car’s surface. This shields the paint from things like UV rays, road salt, bird droppings, and tree sap, which can cause damage over time.
Maintains Shine: Wax helps your car stay shiny, giving it that glossy, like-new look. A well-waxed car catches eyes with its bright, reflective finish. And who in the car culture scene doesn’t love turning heads?
Makes Cleaning Easier: Wax creates a smooth surface that repels water and dirt. This makes washing your car quicker and easier since debris slides off more easily.
Reduces Scratches: The wax layer helps reduce the look of minor scratches by acting as a shield. It takes the hit from small abrasions, possibly saving you from expensive repairs.
Resale Value: A well-maintained car holds its value better. A shiny, clean car with good paint is more attractive to potential buyers.
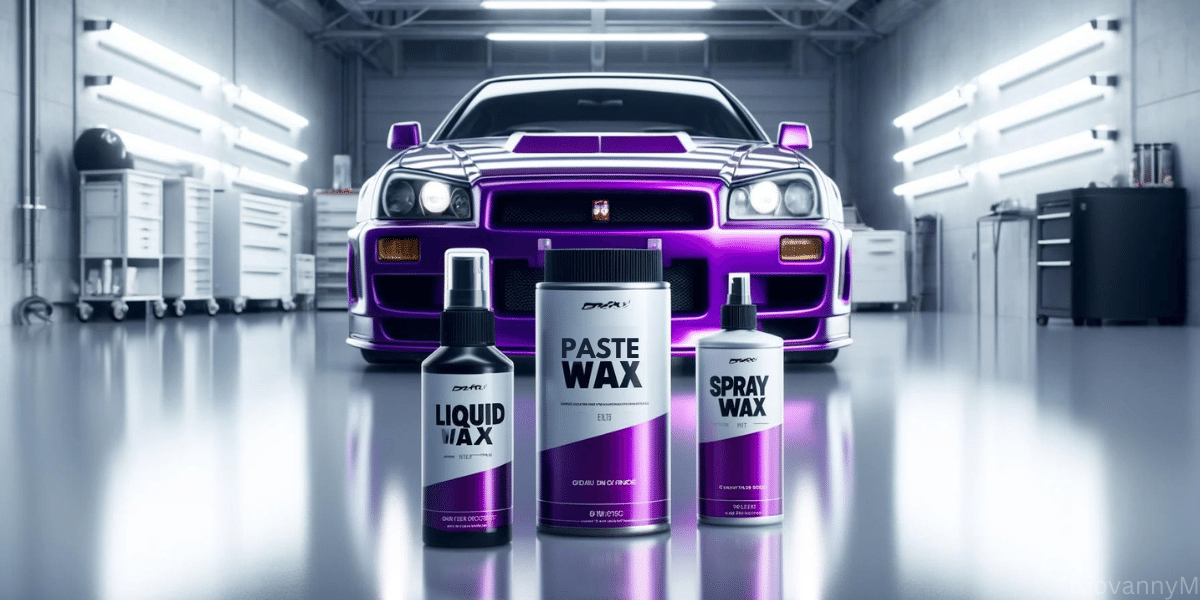
Choose The Right Wax
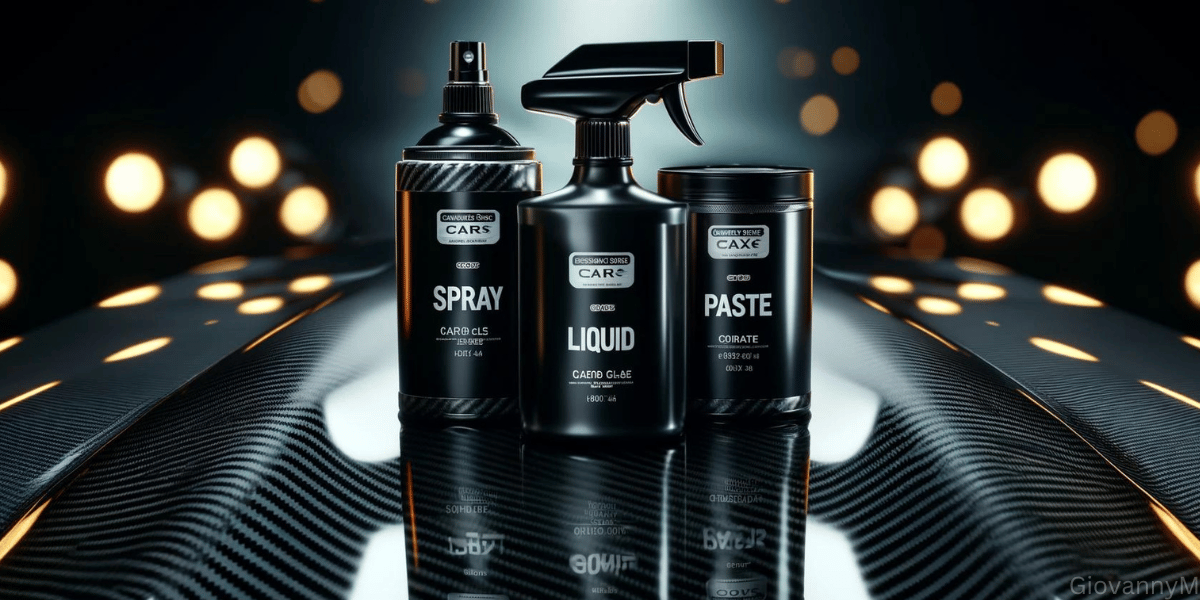
Picking the right wax product for your car involves understanding the different types of waxes available and their specific benefits. Here’s how to choose between the most popular types: paste wax, spray wax, and liquid wax.
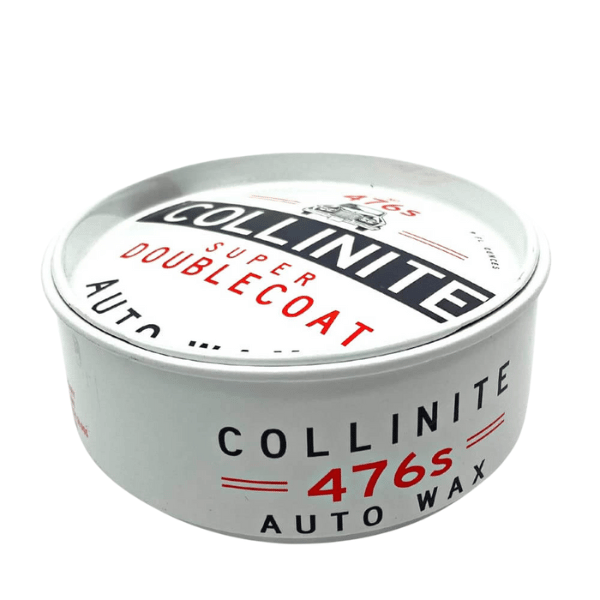
Paste Wax
Application Method: Apply paste wax using a foam applicator. It requires circular motions to spread evenly across the car’s surface.
Waxing Frequency: Because it’s durable, paste wax only needs to be applied every few months.
Tools Needed: Foam applicator pad and microfiber towels.
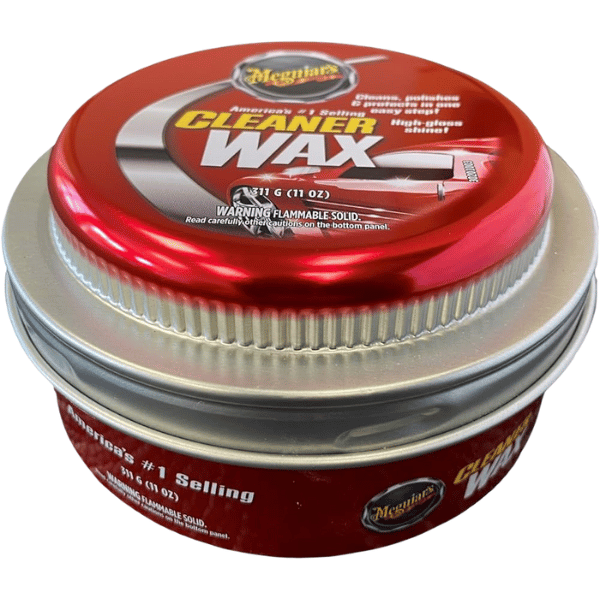
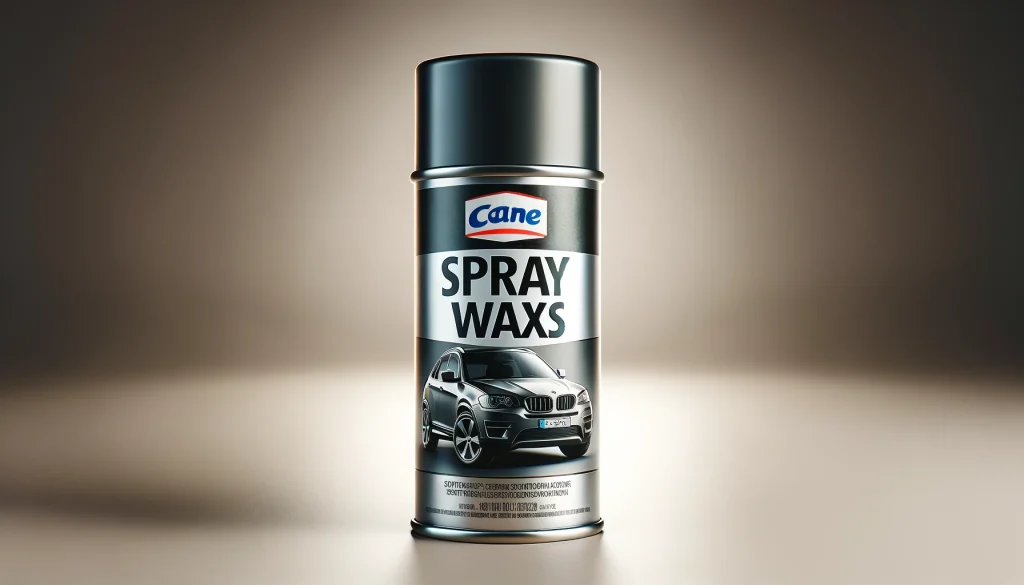
Spray Wax

Application Method: Spray wax is great for quick touch-ups. Simply spray it onto the car’s surface or onto a microfiber cloth and wipe.
Waxing Frequency: Spray wax is less durable and may require a new coat every few weeks.
Tools Needed: All you need is the spray bottle itself and some clean microfiber cloths.
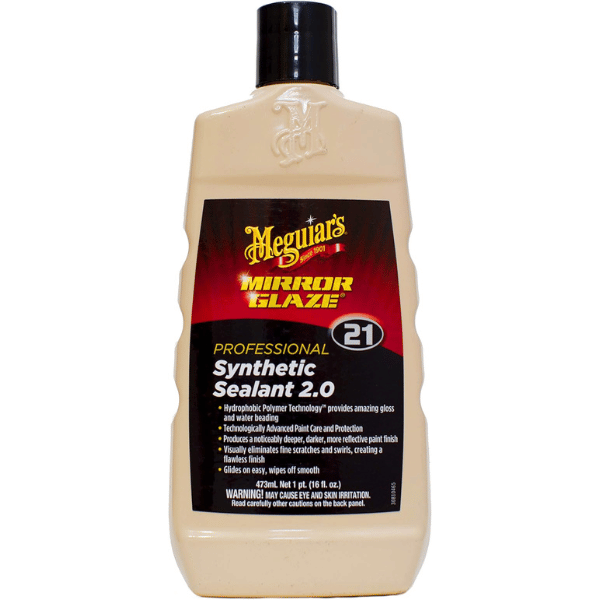
Liquid Wax
Application Method: Liquid wax should be applied with a foam applicator, much like paste wax, but tends to be easier to spread and remove.
Waxing Frequency: Typically, liquid wax should be reapplied every one to two months.
Tools Needed: Foam applicators and microfiber towels.
When picking a car wax, think about how much time you want to spend on it. Paste wax can take a while to apply, but it gives your car a long-lasting shine and solid protection. If you’re short on time or just want a quick touch-up, spray wax is super fast and easy.
Liquid wax is the middle ground. It offers good protection without the hassle of paste wax, and it lasts longer than spray wax. No matter which type you choose, using the right tools and applying it regularly will keep your car looking its best.
Best Conditions For Waxing

Waxing your car in the right spot can help you avoid streaks and get a smooth finish. Stay away from direct sunlight or really cold weather. If it’s too hot, the wax dries too fast and leaves streaks. If it’s too cold, the wax gets tough to spread and takes forever to dry. The sweet spot? Find a cool, shaded area with good lighting, and you’ll get the best results.
Step 1: Gather The Right Tools
Having The Best Car Tools is important when planning to wax your car. Here’s a breakdown of the tools needed, along with a description on which are the best to use for best results.
Minimum Requirement:
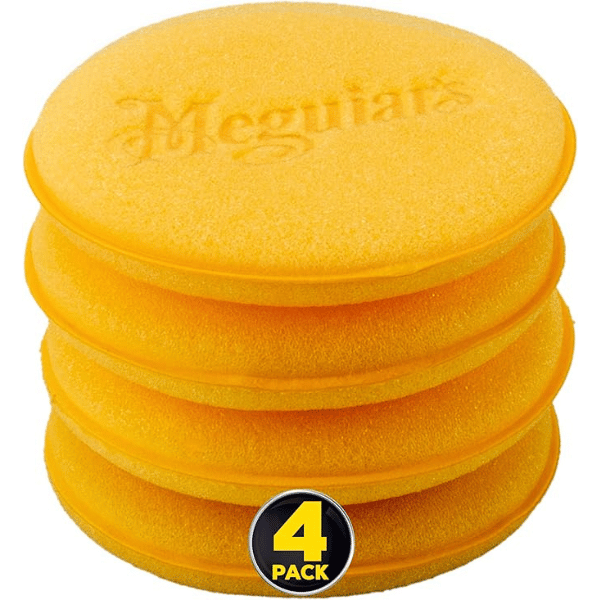
- Foam Applicator: For applying wax evenly across your car’s surface.
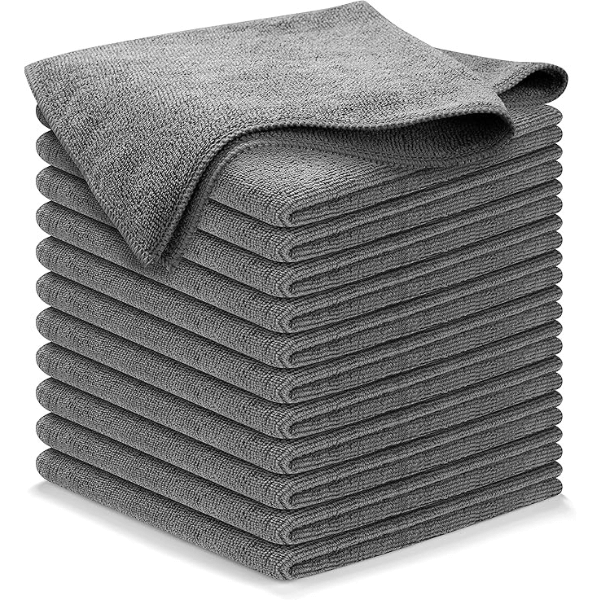
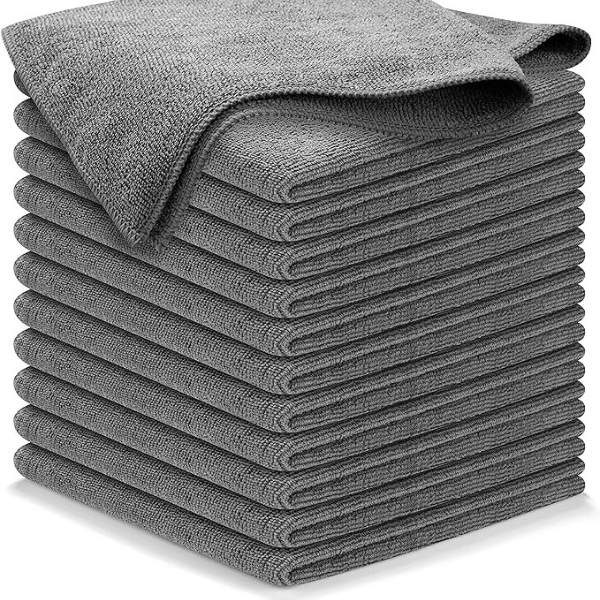
- Microfiber Towels: A clean towel is needed for buffing the wax off without scratching the paint.
- Car Wax: Choose the type of wax based on your preference and the needs of your car’s paint.
Applicator Pads

Microfiber Towels
Car Wax

Best Tools:
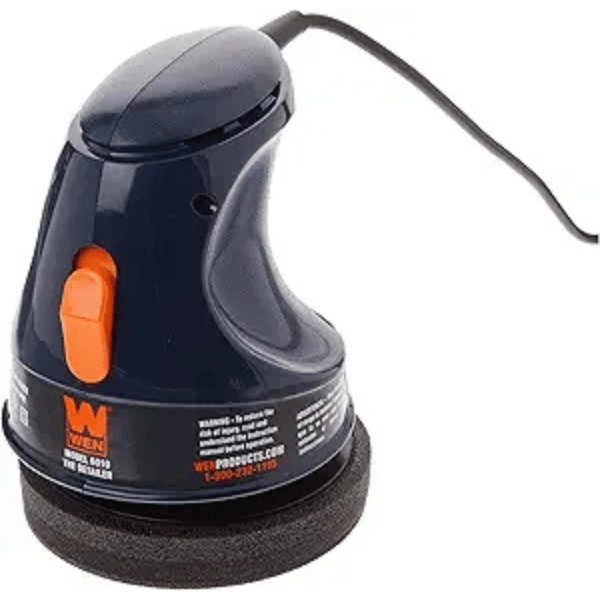
- Orbital Polisher: This tool makes waxing faster and helps spread the wax evenly.
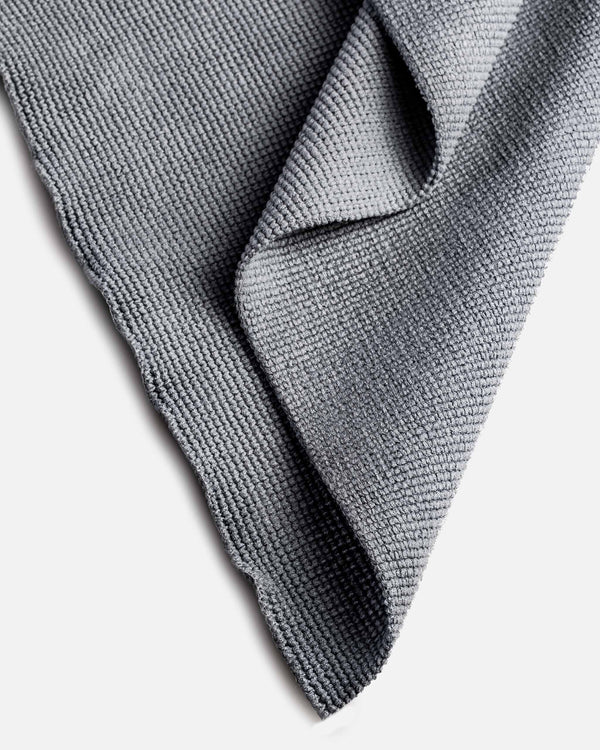
- High-Quality Edgeless Microfiber Towels: These towels are super soft and soak up wax residue quickly. The edgeless design means no scratches or uneven pressure on your paint.
- Professional Grade Wax: While it might cost more, high-quality wax lasts longer and gives your car a better shine and protection.
Polisher/Waxer

Car Wax

Edgeless Towel
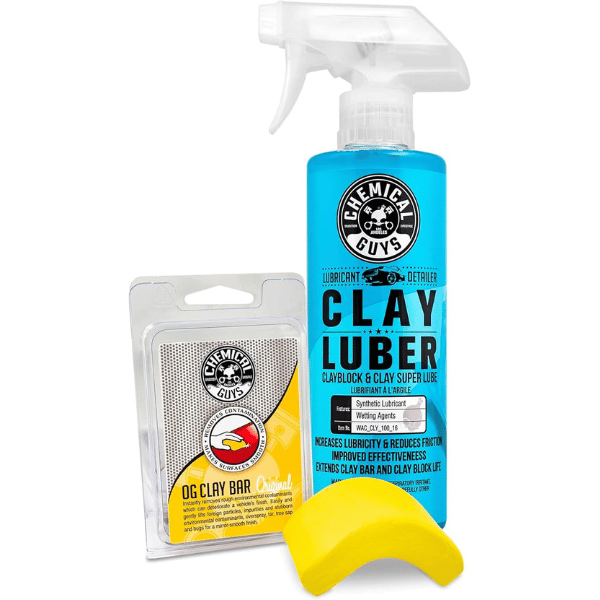
Step 2: Wash Car Before
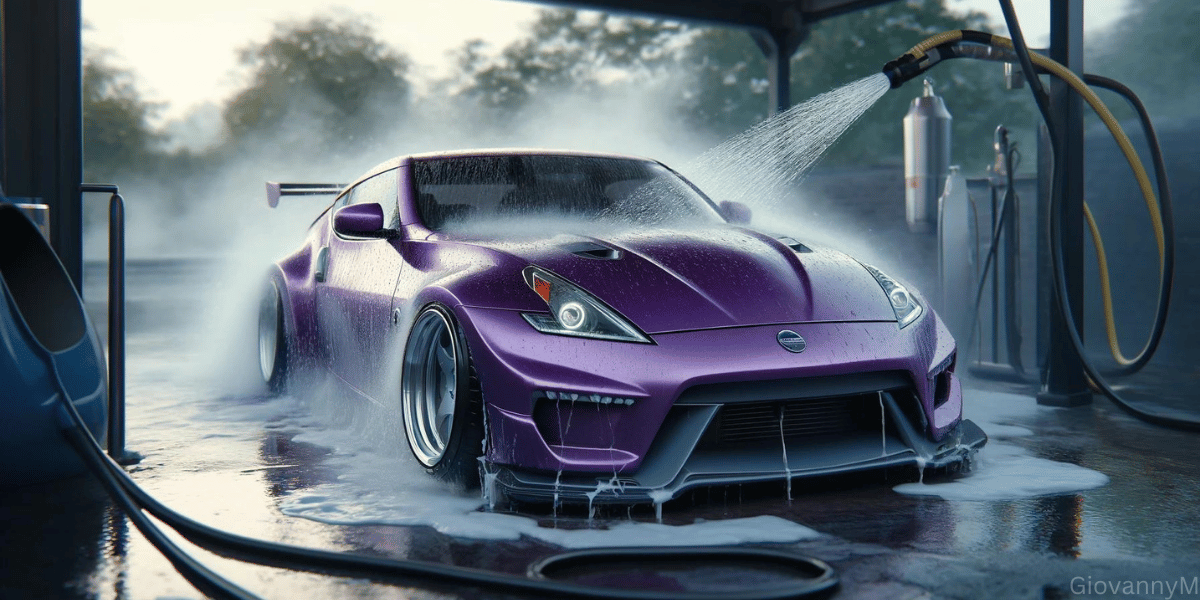
Before diving into waxing, it’s crucial to give your car a good wash, especially if you take pride in Car Culture. Knowing How To Wash A Car is the first important step to getting that perfect wax job. Here’s why washing matters:
Removes Dirt and Debris: Washing clears off all the dirt, grime, and debris. If you skip this step and wax over the dirt, you’ll trap it under the wax and risk scratching your paint.
Ensures Even Wax Application: A clean car allows the wax to go on smoothly. Dirt and dust can mess with the wax, preventing it from sticking properly.
Improves Wax Bonding: Wax sticks best to clean, oil-free surfaces. So, if you want the wax to last and do its job, start with clean paint.
Enhances Shine: Washing your car is the first step in getting that glossy finish. Once waxed, the shine will really pop and last longer.
Prevents Damage: Getting rid of dirt before waxing helps protect your paint during the rubbing and buffing process.
And remember, always dry your car completely before waxing for the best results!
Step 3: Apply Wax in Small Sections
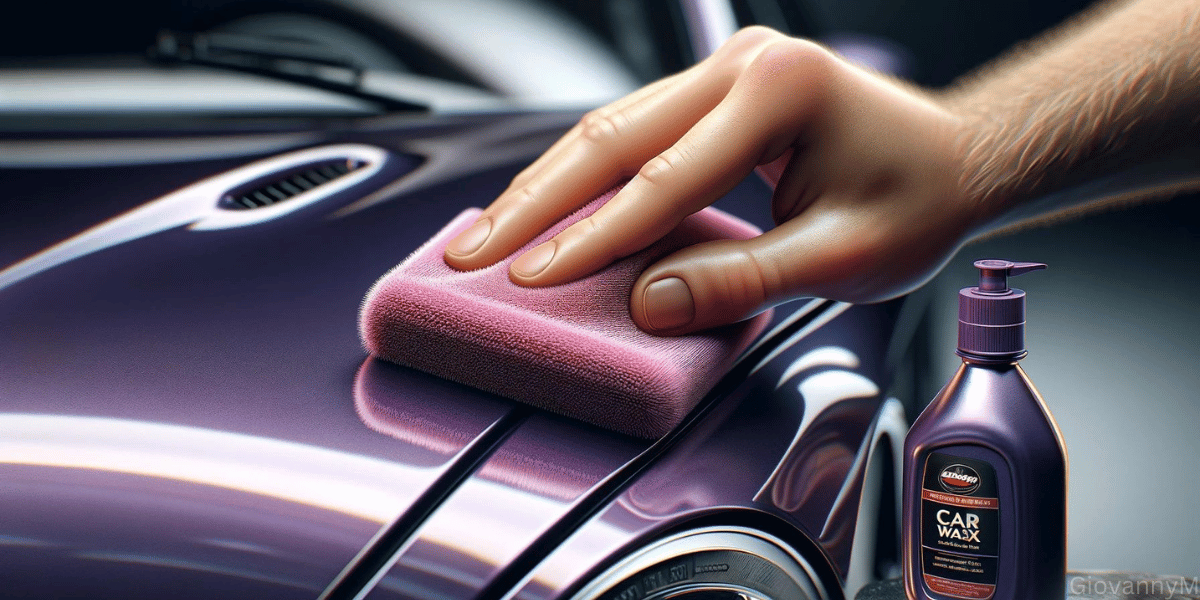
When you’re ready to wax your car, it’s a good idea to work in small sections. This way, the wax goes on evenly and doesn’t dry out before you can buff it off. Here’s how to get it right:
Use an Applicator Pad: For paste or liquid wax, apply it to an applicator pad first. This helps you control how much wax you use and spreads it out smoothly.
Work in a Circular Motion: Apply the wax in circles with the pad. This helps you cover the area without missing spots.
Apply Pressure Evenly: You don’t need to press too hard, but keep the pressure steady. This helps the wax stick better.
Tackle One Section at a Time: Focus on small areas, like half the hood or one door. It’s easier to manage and keeps you from rushing.
And remember, you don’t need to use too much wax—less is more!l as long as at least a thin layer covers all the desired areas.
Step 4: Let Wax Dry

After you’ve applied wax to your car, it’s important to let it dry properly. This drying time, or curing time, helps the wax provide the best protection and shine.
Average Curing Time: Most car waxes need about 10 to 20 minutes to dry. However, this can change depending on the type of wax and the weather. For example, cooler or humid conditions might slow down the drying process.
Why Let the Wax Dry: Letting the wax fully dry allows it to form a hard protective layer on your car’s surface. This layer helps protect the paint from UV rays, dirt, and moisture.
How to Know It’s Dry: You can do a simple swipe test to check if the wax is ready. Lightly swipe your finger over the waxed surface. If it smudges, it needs more time. If it’s clear and smooth, the wax is ready to be buffed off.
While you’re waiting for the wax to dry, you can relax and check out The Best Car Accessories for your next upgrade. Or, if you’re in a productive mood, learn How To Clean Your Engine Bay while you wait!
Step 5: Final Wipe Down
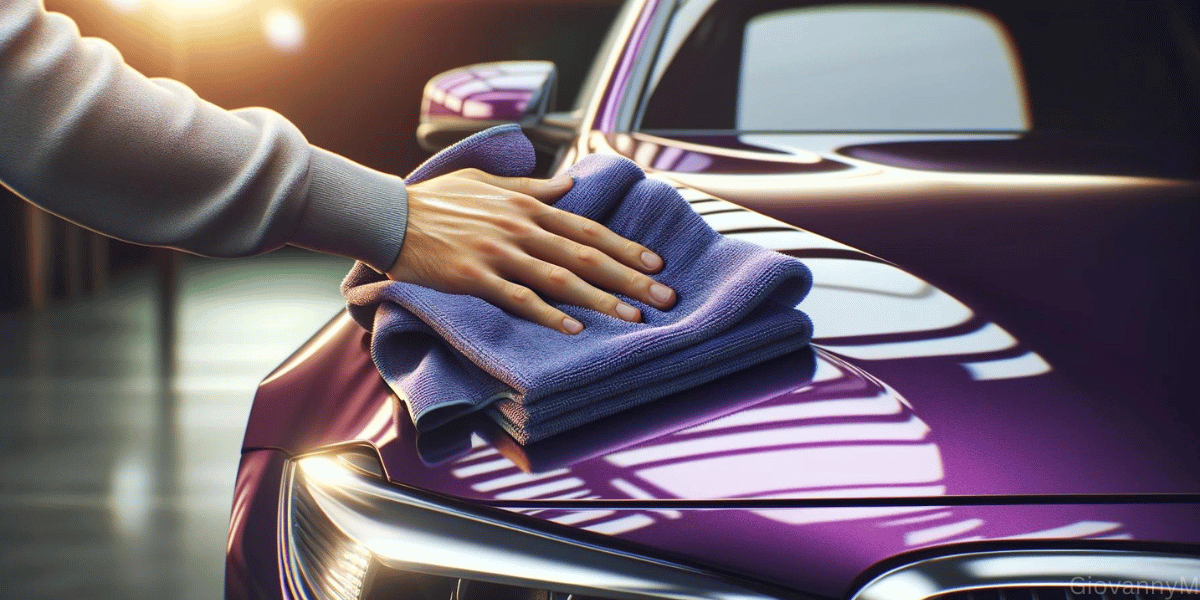
The final wipe-down is an important step once the wax has dried on your car. You’ll need a clean microfiber towel to buff off the dried wax from the surface.
What We Are Removing: During the final wipe, you’re getting rid of the dried, excess wax that forms a haze on the car’s paint. This haze is just leftover wax sitting on top after it has set.
Why We Remove It: Removing this excess wax is important because it reveals the shiny, protective layer underneath. If you leave it on, the finish can look cloudy and uneven. Buffing off the haze gives your car that glossy, smooth look and helps the wax do its job.
Use light, circular motions with the microfiber towel to buff the surface. Keep turning the towel to a clean side so you’re not dragging wax back onto the car. This last step makes sure your car looks its best and the wax protects like it should. Using quality waxes and the right wax can make all the difference in how well your car shines and stays protected.
Step 6: Look For Missed Spots

Even if you’re careful with your waxing, it’s easy to miss a spot or two. Here’s how to make sure your car is fully waxed and looking great.
How to Find Missed Spots: Once you’re done waxing and buffing, take a good look at your car from different angles. The best way to catch missed spots is in bright light or direct sunlight. This helps highlight any areas that don’t have that same shiny finish.
What to Look For: Keep an eye out for spots that look duller or less glossy than the rest of the car. These areas might have gotten little or no wax.
What to Do When You Find a Missed Spot: If you notice a missed area, no worries! Just apply a small amount of wax with your applicator pad to the spot. Then, follow the same steps: apply the wax, let it dry, and buff it off with a clean microfiber towel. This will make sure your car’s exterior is fully covered and protected.
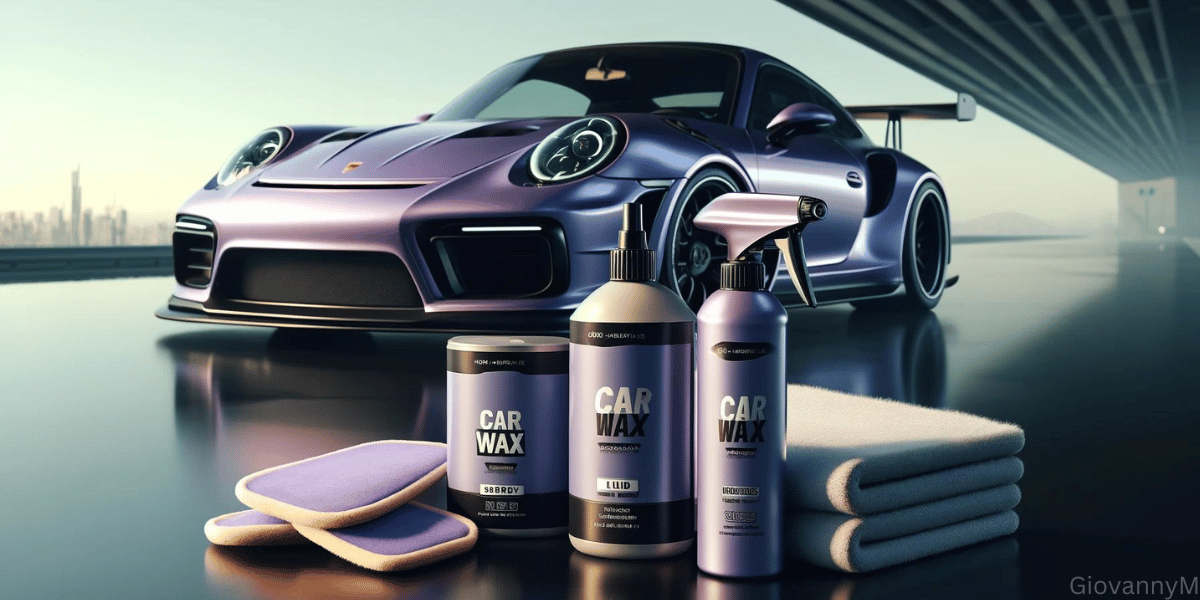
Types Of Car Wax
Choosing The Best Car Wax depends on your needs and time. Here’s a quick breakdown:
Spray Car Wax: Easy to apply and quick. Great for touch-ups and regular maintenance.
Liquid Car Wax: Long-lasting with deep shine. Best for thorough detailing sessions.
Paste Car Wax: Offers durable protection and rich gloss. Ideal for long-term protection.
Each type suits different needs. Consider your time, effort, and desired results when you choose the best car wax. Curious whether Carnauba Wax or Sealants offer better durability? Read our in-depth comparison on Carnauba Wax Vs Sealant. Not all waxes work well on black paint. Discover the best car wax for black cars to maintain that deep, mirror-like shine.
How Often Should You Wax a Car
Waxing your car every 2-3 months keeps the paint protected and looking fresh. How Often You Wax A Car depends on if your car is exposed to harsh weather or frequent washing, waxing every 6-8 weeks helps maintain protection. For cars kept indoors, waxing every 4-6 months is enough. Regular waxing also boosts shine and shields your paint from UV rays, dirt, and water spots. If your wax has worn off or you’re planning to apply a fresh coat, you could also Remove Car Wax for a clean, plain surface to start fresh with.
How To Wax A Car Final Thoughts
Waxing your car is simple and is the best way to keep it looking new and protected. Remember you can always also Wax Your Car Windshield. By following the right steps and choosing the best conditions for waxing, you can avoid common problems like streaks and ensure a smooth, glossy finish. Regular waxing not only improves your car’s appearance but also protects its paint from dirt and damage.
Take the time to do it properly, and your car will shine brightly and remain in great condition for years to come. Now that you are done waxing, why not move on to learning to clean brake dust off your wheels? or how to clean your car seats? There is no need to just stop. There’s always something new to clean or improve on, and I hope that these articles help you along the way!